


-
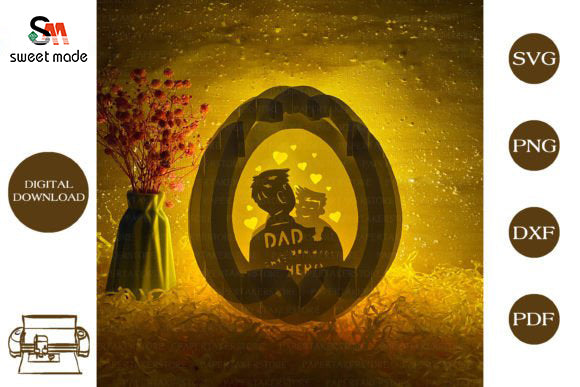
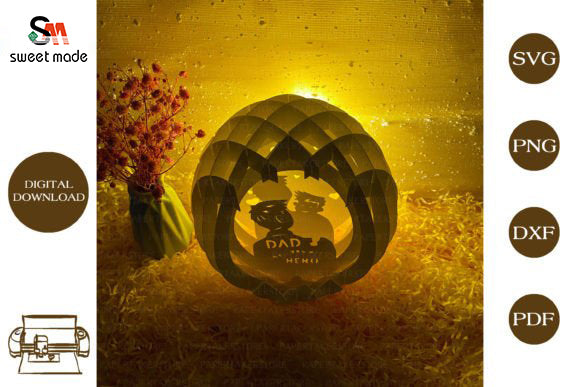
Papercut Egg Pop up 3D Light Box
Papercut Egg Pop up 3D Light Box, with 3 layers and colorful LED lights that are places behind them (or at the bottom for pop-up), is a wonderful decorative night light for nursery, living room, bedroom, etc. USB power supply, with light switch, convenient to use. All the instructions below will guide you how to make a Egg Pop up 3D correctly step by step.
I. Material
Here are the materials I used:
+ Paper
White card stock (170 grams thickness)
I recommend using 170 grams white card stock, because it’s stiff enough to stand up and thin enough to let the light pass through.But with big shadow box, you should 200-220 grams
+ RGB LED strip lights
+ X-Acto knifeII. Steps to DIY Papercut Egg Pop up 3D Light Box
1, Template
The first thing you need to do is to download and print out the template. You can scale it up and down if needed. Contact with me to scale files. You can also make your own unique design.
2, Print templates
Normal print mode reduces the size of images so select the do not scale (actual size) print mode to be able to print exactly the size.Different software will display different print modes.
3, Cutting templates
Once you’re done with the first layer, cut it out using an X-Acto knife. X-acto knife is an original cutting tool designed to deliver the sharpest, most accurate cut on your projects. Cut it out, and repeat this process until you are done with all the layers.
4, Reassemble the Layers
Match the pieces in pairs of letters and numbers, for example:
A-1, B-2, C-3, D-4, E-5, F-6, G-7
Piece A and 1 are the center and then match the rest of the pieces according to the illustrations below.


* Instructions & Tips
Note: Please uncheck the Adaptive border (It will load the image scaling, and may cut the edge of the picture)
Instructions:
1. Don't cut the number in the upper right corner of the paper, they're just to mark the order and prevent reversing the paper.
2. Attention please, in the last step, you need to make sure all papers are placed in order, otherwise, your work will be ruined.
Tips:
1. Don't think about which parts need to be kept, which parts need to be discarded. Just carve along the lines and everything will be done naturally.
2. Cutting order: from inner to outer, from small to large. This will reduce the chance for damaging the paper